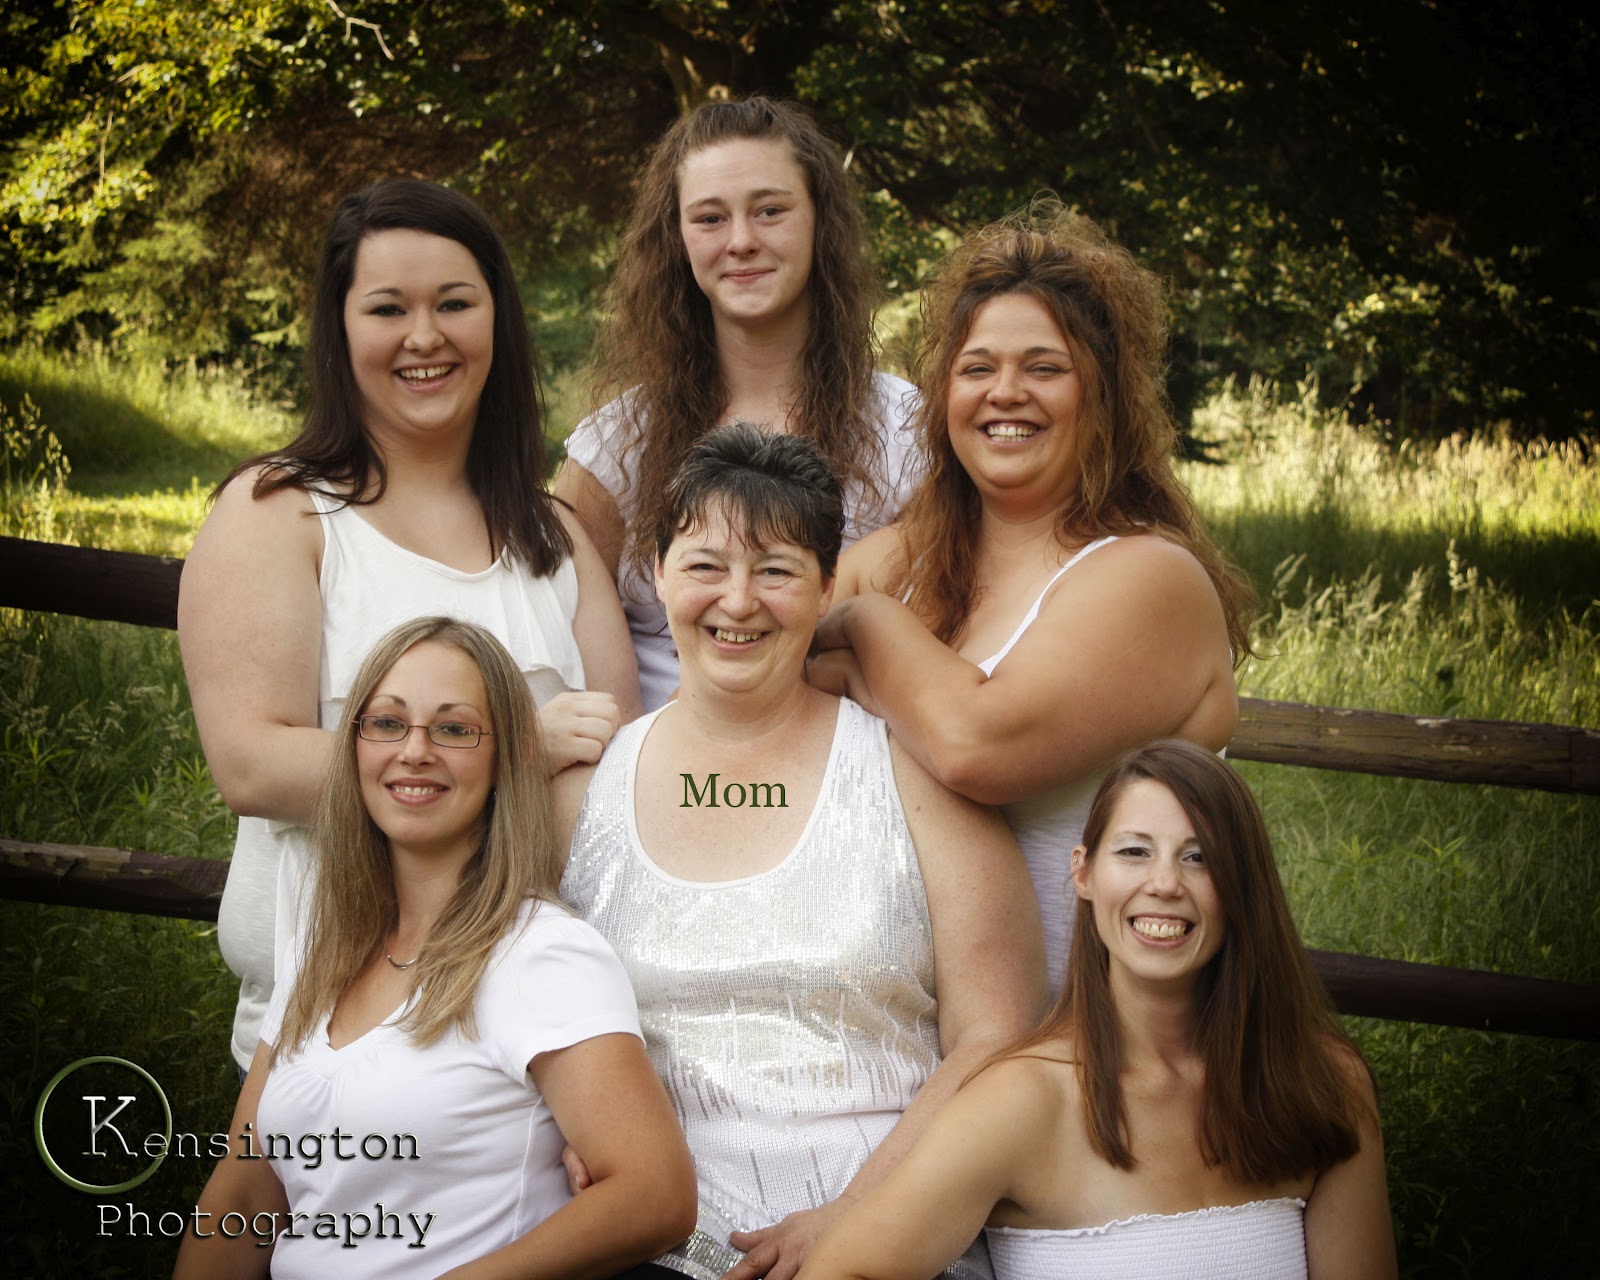
It’s a bit off center but you will have this when posing larger groups but Mom/Grandma is placed in the center of the group.
Rule #2: The Rule of the Triangle.
When posing a group always pose in either a triangle or an inverted triangle. The reason we do this is because angles are appealing to the eye. While this is not a rule that is carved in stone it is something that we strive for when formally posing a group in a formal setting (ie: portrait studio).
Using our same portrait of Mom and her daughters I have drawn our 2 angles that we have going on in our portrait. Notice at the apex of both of the angles how Mom is the center. This gives the portrait a nice balance and is appeasing to the viewer. Also by adding levels to our angles is a great way to add depth and layers to our portrait without breaking a sweat.
Here is an example of how we can break both of the rules we just spoke about and still follow at the same time.
In this portrait of this group notice how we still have our important people featured. They may not be in the center, but everyone is placed around them. Notice how we are now in a circle rather than a triangle, even so we still have a lot of angles. One of the biggest angles being created is by being WAY above our subjects. This is always something that allows us to create a great dynamic to portraits. Also there are settle angles being created by the subjects arms that drive your eye to the center where the bottles meet. So there’s lots of great things to look at this in this portrait but at the same time we have broken all the classic posing rules (sort of)!
Rule #3:Take your time and start with your LARGEST group first.
When shooting large groups you may find yourself being tossed about like a beach ball. Families and groups come in all shapes and sizes and with many people trying to play Chief it’s easy to become over whelmed and find yourself wanting to rush through everything. If and when this happens don’t be afraid to stop and take a quick breath. Remember this is your creation the guest is always important and right – but at the end of the day these are your images.
Here’s how I approach groups.
Start with your largest group. Nine times out of ten you will have children in a group. Kids have the attention span of a goldfish and somehow no matter how large the group is some how a portrait is defined by how they smile. So in order to achieve this we must have their utmost attention. This is why we do the largest group first because we are guaranteed to get a smile from every kid.
Usually the night before I’ll sketch out what my group is going to look out and then I’ll carry this with my list of shots I’ve gotten from my guest prior to the shoot. (We will discuss this in another blog post) Here’s an example of one of my sketches:
I know it’s not the most elegant thing but it gives me my general shape of where I’m going with the portraits. It’s important that amid the chaos I know this is the plan. Granted things can change once I get to the shoot but at least I have a pretty good base idea that I can look back and say “Ok! Let’s adapt”.
Once I have everyone placed with in the pose I now get to finally take a photo. So it’s important to that we as photographers to keep everyone’s attention. I do this usually by bringing my squeaky duck or just by acting silly meanwhile making sure that I have everyone’s eyes. A mentor of mine used to tell me that between taking shots with a group take a long drawn in breath. This will keep your focus and also keep you from passing out. 🙂
Don’t be afraid to say “OK everyone stay there and relax just a second” and look to make sure that you have 2 -3 great shots before moving on. I usually will take 5 shots of this main group and I find that’s usually all I will need.
Small Groups:
From there I usually will then photograph my small “break downs” of the group. Individual families, kids, perhaps the Grandma with her grand-kids. Maybe individual kids. And here’s how you pose smaller groups.
I still follow posing rules, when I can, sometimes when there’s only two people there’s really no center to that. So everyone’s equal but a hand placement or the way you pose a couple can place importance or send a message.
Also angle play with couples can be ALOT of fun.
Sometimes when posing odd numbered groups you can find yourself going “Where in the world do I put you?!” Just take your time, be creative, remember your rules(look at your sketch sheet!) and you’ll find yourself taking to posing groups like a fish to water.